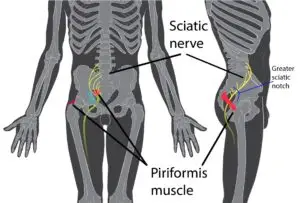

BENEFITS & MUSCLES WORKED: Hips, Flexibility, Range of Motion, Lower Back, Reduction of Sciatica Pain
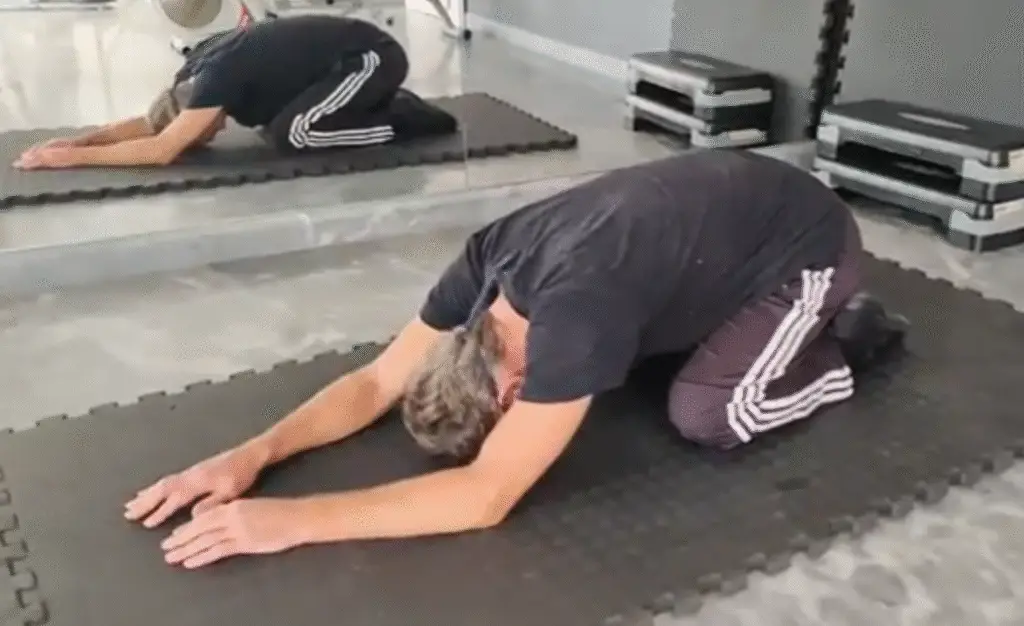
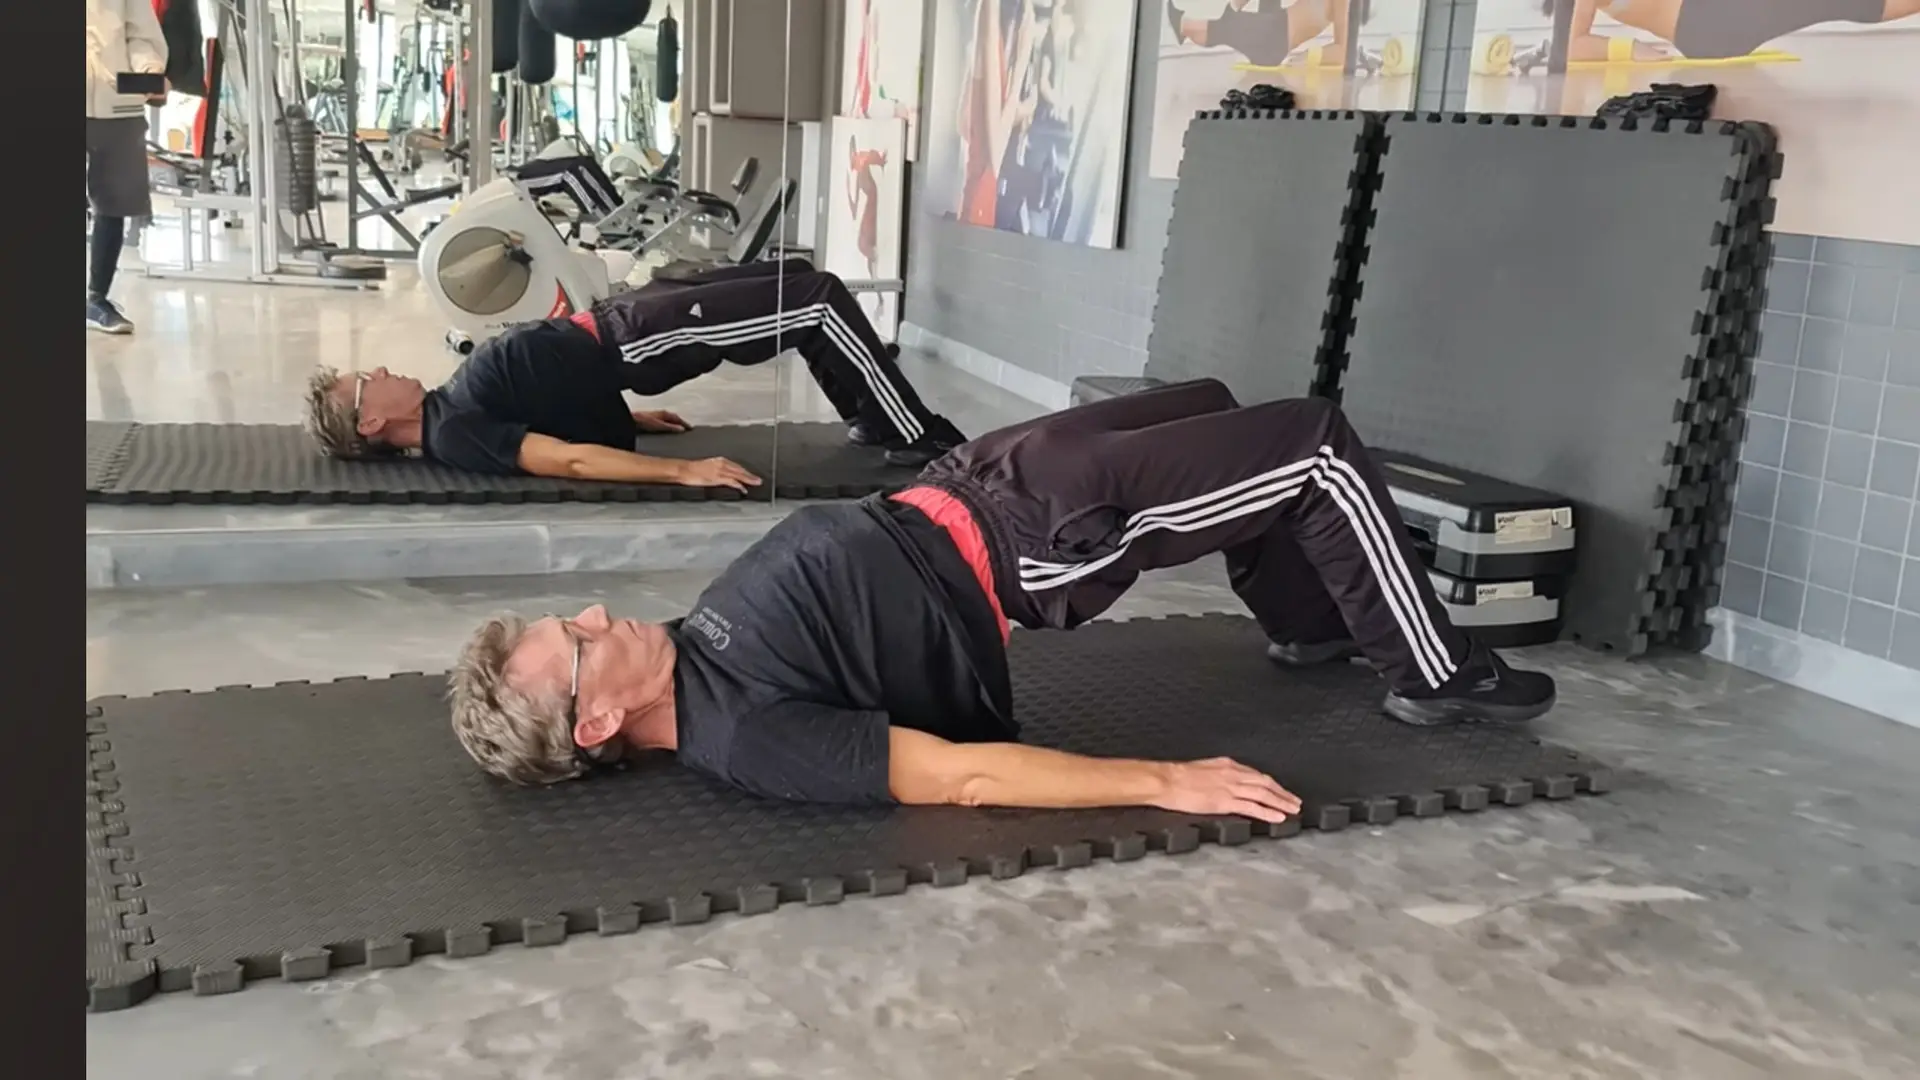
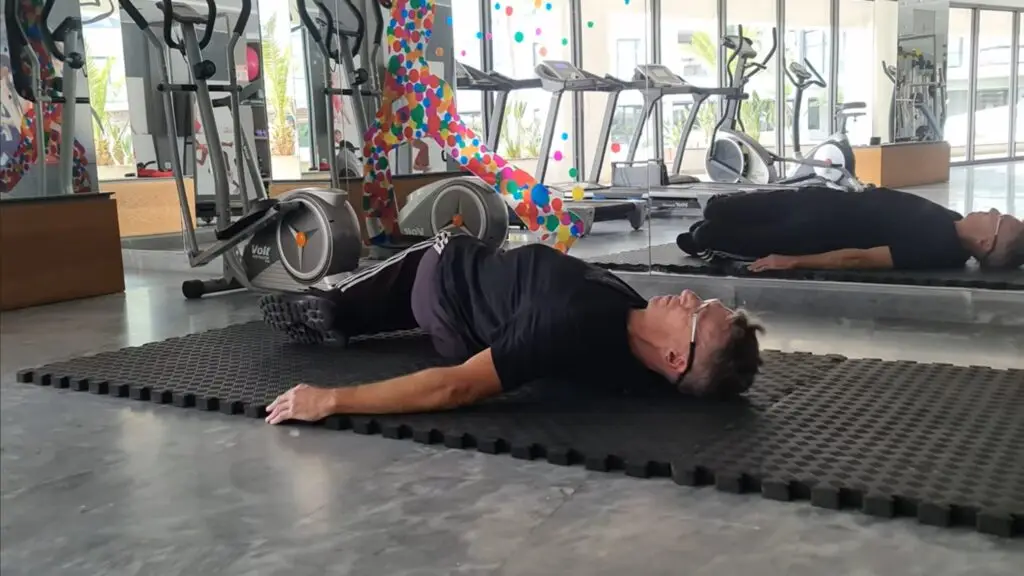
START POSITION: Classic Pilates Start Position.
NOTES: Difficulty Rating: 65%
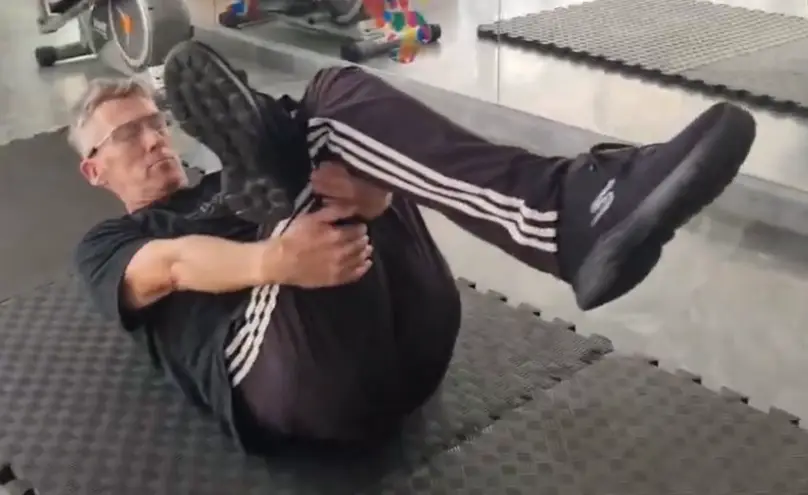
From the start position, bring one foot up and place it across the top of the other leg, on the thigh just above the knee. Reach forward and clasp around the hamstring area of the other leg, just above the knee. Note that one arm should go through your legs, and the other arm should go around the outside of the leg to be clasped. Then, knot your fingers together to form a solid grip and gently pull the leg backwards toward your head.
If your neck is uncomfortable, then you can support it with a pillow. Hold for a few seconds and then repeat for the other leg. Be careful with the Piriformis Stretch because it creates a huge stretch on what is essentially a tiny (but essential) muscle.
The piriformis stretch is an excellent way to release tension in your hips and glutes. It can help improve flexibility, reduce pain, and prevent injuries.
Repeat on the other side.